In short, LUTs are editing tools that allow you to add professional looking colour grading and cinematic stylized looks to your mobile video footage with just a few clicks. In this post, we’ll explore the ins and outs of using cinematic LUTs, how to install them and how to get the most out of them with only a smartphone!
What are LUTs & How Do They Work?
LUTs, short for Look-Up Tables, are powerful tools used for video editing and colour grading. They are essentially a set of instructions that allow you to precisely modify and transform the colours and tones of your footage. Think of LUTs as filters or presets, but with a more sophisticated and precise approach , instead of simply applying a predefined look, LUTs utilize a mathematical formular to remap the colours in your video, creating a desired colour grading and toning effect.
LUTs work by taking the input colour values of your footage and mapping them to new output values based on the specific instructions contained within the table. This process enables you to manipulate the hue, saturation, brightness, contrast, and other aspects of your footage’s colour composition, resulting in a distinctive and visually appealing look.

They can range from basic adjustments to complex and artistic transformations, catering to a wide range of creative preferences and styles. Whether you’re aiming for a vintage film look, a vibrant and saturated aesthetic, or a moody and desaturated atmosphere, LUTs provide a quick and efficient way to achieve your desired colour grading without the need for extensive manual adjustments.
One of the significant advantages of LUTs is their versatility as they can be applied to different types of footage, such as videos shot on DSLRs, mirrorless cameras, smartphones, or drone footage, making them a valuable tool for content creators across various platforms and devices.
With their ease of use and ability to create stunning visual effects, LUTs have become an essential component in the toolbox of video editors and filmmakers, allowing them to elevate the visual aesthetics and storytelling impact of their videos.

How LUTs Can Improve Your Mobile Footage?
First off, let’s talk about convenience. Most smartphones have pretty decent cameras nowadays, we carry them everywhere and they are the perfect tool for capturing moments on the go. But sometimes, the raw footage from our smartphones can look a bit bland or inconsistent, and that’s where LUTs shine! They allow you to infuse your videos with a little extra personal style, giving them that polished and professional look that makes your content stand out from the crowd.
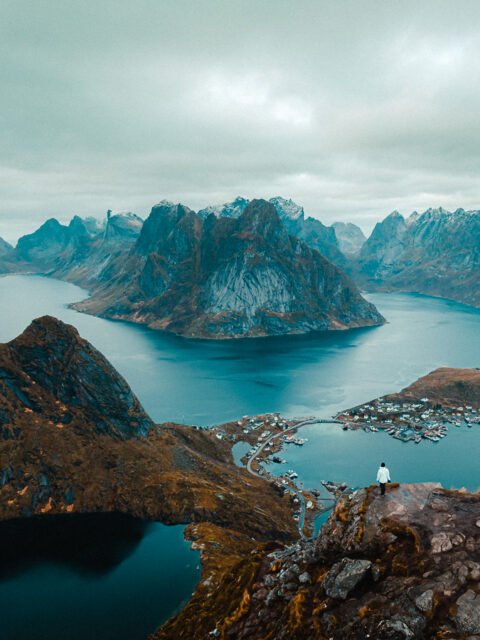
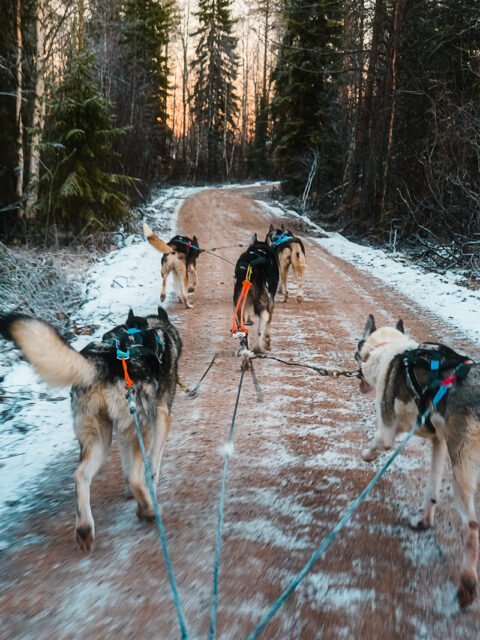
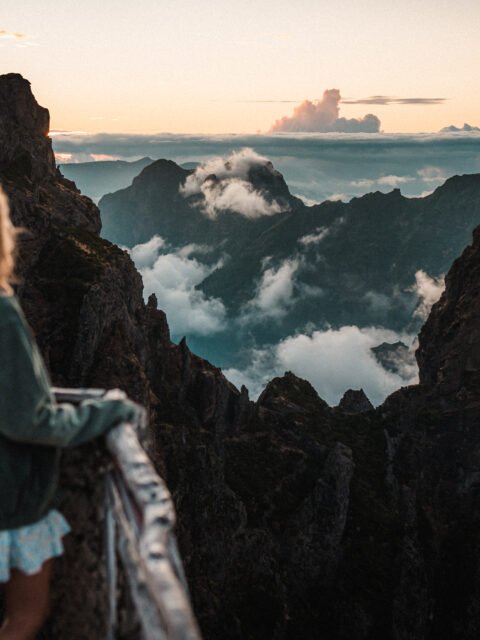
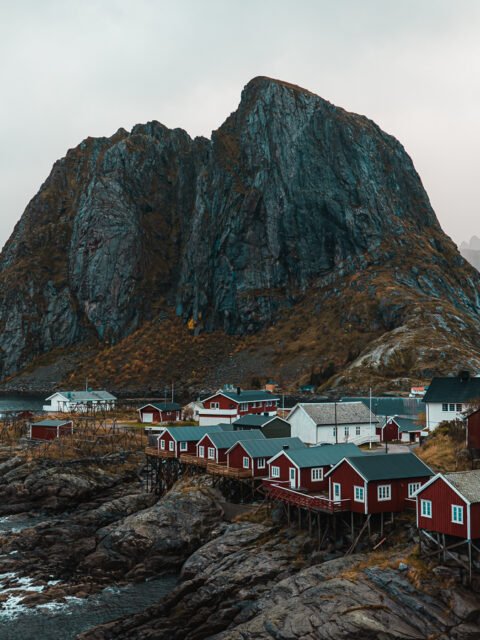
Using LUTs on mobile footage is not just about enhancing the visuals; it’s about enhancing your storytelling. Each look and colour palette carries its own unique vibe, from vibrant and energetic to moody and atmospheric. By choosing the right LUT for your content, you can effectively set the mood and create a cohesive and consistent visual theme throughout your footage – for example, that “cinematic” look you see in travel videos.
And here’s the best part: you don’t need to be a colour grading expert, own a fancy camera or expensive editing software. All you need is a smartphone, a compatible video editing app (like VN), and a LUT pack that suits your style. It’s a super accessible way to level up your content without breaking the bank, and with just a few taps you can completely change the mood, colour, and overall quality of your videos.
How to Use LUTs on Mobile with VN
VN is a powerful video editing application designed specifically for mobile devices, offering a user-friendly interface and a range of features to enhance your video editing experience. As I’m writing this, it’s the only free to use app I’ve found VN app that supports LUTs, so this is the one we’ll be using. Luckily, installing LUTs in VN is a straightforward process that will have you up and running in no time
Start by finding LUTs that are compatible with the VN mobile app (CUBE files) and match your preferred style. We have our own LUTs that we use for all of our video work. They’re designed to work with any camera or device and for a wide range of conditions and environments – luckily they are compatible with the VN app too!
How to Install
- Download the LUTs: Once you’ve found some LUTs, download them directly on to your mobile device and save them in a dedicated folder for easy access during the installation process. Make sure to keep track of the file names and locations.
- Open the VN app: Launch the VN app on your mobile device and once you’re in the app, create a new project or open an existing one to begin editing your footage.
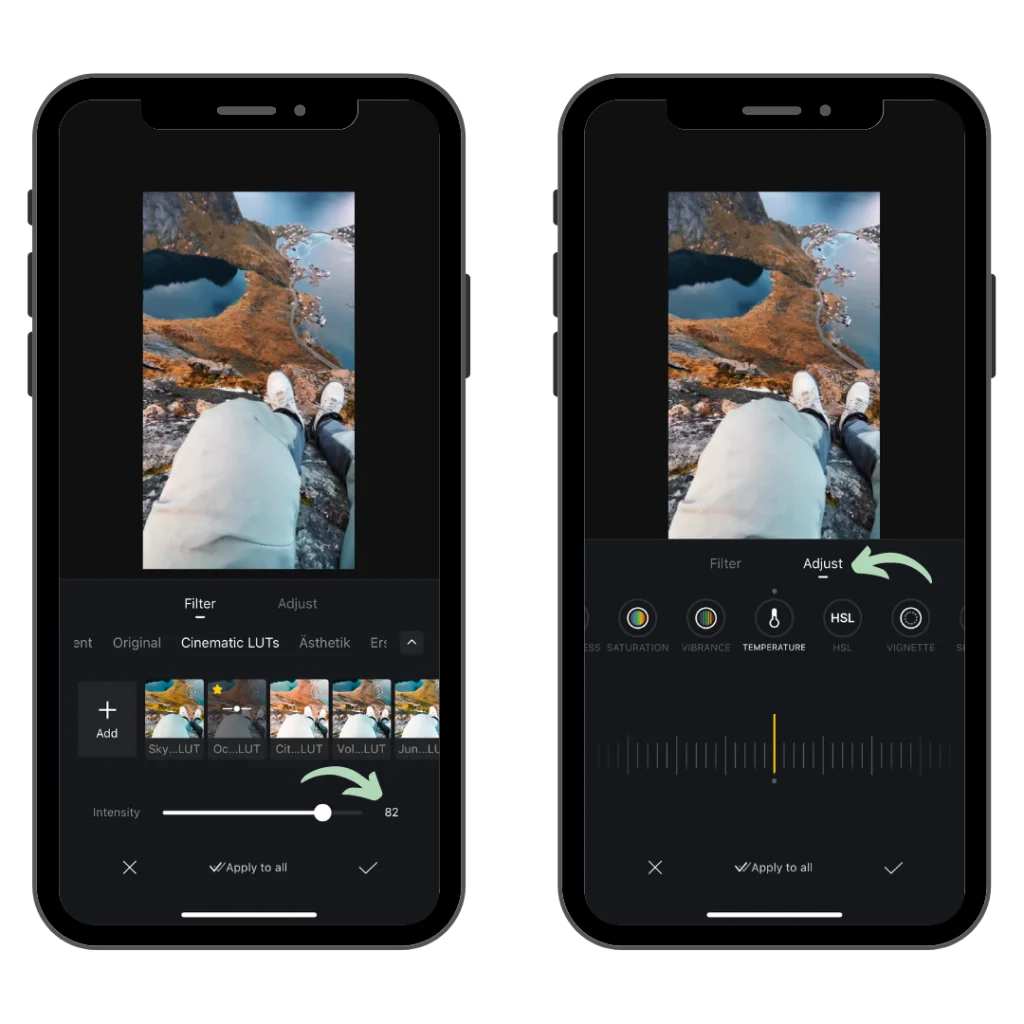
- Access the LUT import feature: Look for the Filter tab in the tool bar and click Add > Files, then locate the folder where you saved your LUTs, select them all and tap Open.
- Apply the LUTs: With the LUTs imported into VN, it’s time to apply them to your footage. Navigate to the Filter section of the app, where you’ll find the LUTs you imported. Select a LUT and apply it to your video clip or entire project.

After applying a LUT, you may want to fine-tune the settings to achieve the desired look, starting with the intensity slider to adjust the strength of the LUT. If you tap across to the Adjust section you will have a whole range of additional parameters like intensity, contrast, saturation, and temperature to help you fine tune even further.
Experiment with these settings to customize the LUT and achieve the perfect result – we’ll cover this in more detail in the next section!
Tips for Using LUTs Effectively
While LUTs can provide an excellent foundation for colour grading, don’t be afraid to make additional adjustments to suit your specific needs and use them as more of a starting point. Every video is unique so it’s important to fine-tune their settings before you hit export for the best results. Here are some tips to help you achieve optimal results:
1. Adjust the LUTs Intensity
LUTs often come with intensity settings that allow you to control the strength of their effect. Experiment with different intensities to find the right balance. Sometimes, a subtle adjustment can be more effective than a heavy-handed application, especially when you want to retain the natural characteristics of your footage.
2. Play with Colour Temperature
This is usually the step I take before anything else as colour temperature alters the overall warmth or coolness and is dependent on the shooting conditions of any particular shot. Therefore, it will drastically affect how the LUT looks on your footage. If you feel the LUT is pushing the colours too far in one direction, explore temperature adjustments to achieve the right balance.
3. Fine-Tune Contrast & Saturation
If you want to make you footage pop even more (or less), you may want to fine-tune specific aspects like contrast and saturation. Adjusting contrast allows you to make elements stand out and add depth, while modifying saturation intensifies or softens colours for either a more vibrant or muted look.

4. Advanced HSL Adjustments
Adjusting LUTs with HSL sliders is a more advanced method that offers precise control over specific colours in your footage. The Hue slider shifts the overall colour tone, Saturation controls colour intensity, and Luminance adjusts brightness.
5. Testing with Different Lighting Conditions
LUTs may react differently to various lighting conditions, so it’s essential to test them with different footage and lighting scenarios. Consider how the LUT performs in daylight, low light, or artificial lighting environments. This way, you can ensure consistent results and adapt the LUT selection based on the lighting conditions of your footage.
6. Combine with Other Effects
To create a truly unique look, don’t limit yourself to just applying LUTs. Experiment with combining LUTs with other effects and adjustments available in your editing software. You can stack filters, add vignettes, or adjust exposure to further enhance the visual impact and achieve your desired style.