

In this blog post, we’ll cover essential gear, techniques and tips to step-up your mountain photography skills. Whether you’re a complete beginner or you already have some experience behind the lens, these mountain photography tips will help you take the most stunning shots next time you’re out in the mountains.
Mountain photography is easily one of my favourite styles to shoot and so this post will also be filled with examples of my best mountain shots from around the world!
Essential Camera Gear for Mountain Photography
To get the best mountain photography shots, you need the right gear. A DSLR or mirrorless camera will give you the flexibility and quality needed for detailed images but there are a few other accessories that you might want to consider.
- ND Filters – Reduce the intensity of the sunlight and allow for longer exposures.
- Weather Protection – Use waterproof covers & a durable bag to protect against unpredictable weather.
- Backup Batteries & Memory Cards – Always carry spares to avoid missing shots due to drained batteries or full memory cards.
- Tripod – Ensures stability for clear, sharp images, especially during long exposures.
1. Understanding Camera Settings Basics
Aperture
Use a smaller aperture (higher f-number) to keep both the foreground and background in focus. This is particularly useful in mountain photography to capture the vastness and details of the landscape.
To put it simply, a smaller aperture will ensure that the entire scene, from the closest rock to the distant peaks, is sharp and clear.

On the other hand, a larger aperture (lower f-number) can be used to create a shallow depth of field, which is useful when you want to isolate a specific subject, like a flower or a person, against a softly blurred background.
This technique can help draw attention to the focal point of your image while adding a sense of depth and dimension.

Shutter Speed
Adjust your shutter speed to suit the motion you want to capture. A slower shutter speed can create a sense of motion in flowing rivers or moving clouds, adding a dynamic element to your mountain photos.
Alternatively, a faster shutter speed will help keep the image sharp, especially in windy conditions or when capturing fast-moving subjects like wildlife.
ISO
Adjust the ISO to match the lighting conditions. In bright daylight, use a lower ISO to maintain image quality and reduce noise. In lower light conditions, such as during sunrise or sunset, increase the ISO to ensure your photos are well-exposed.


Just remember to be mindful of noise as higher ISO settings can introduce graininess to your images. Although, personally I think that a lot of people tend to overthink this and I really wouldn’t be too concerned about raising my ISO to get the shot – especially now we have the help of Lightroom’s new AI noise reduction features!
2. Shoot During Golden Hour
In my opinion, golden hour the (time shortly after sunrise and before sunset) offers the best light for mountain photography. The soft, warm light during these times can help to make your photos look so much more impressive. This time of day also tends to have fewer harsh shadows, allowing for a more even exposure.
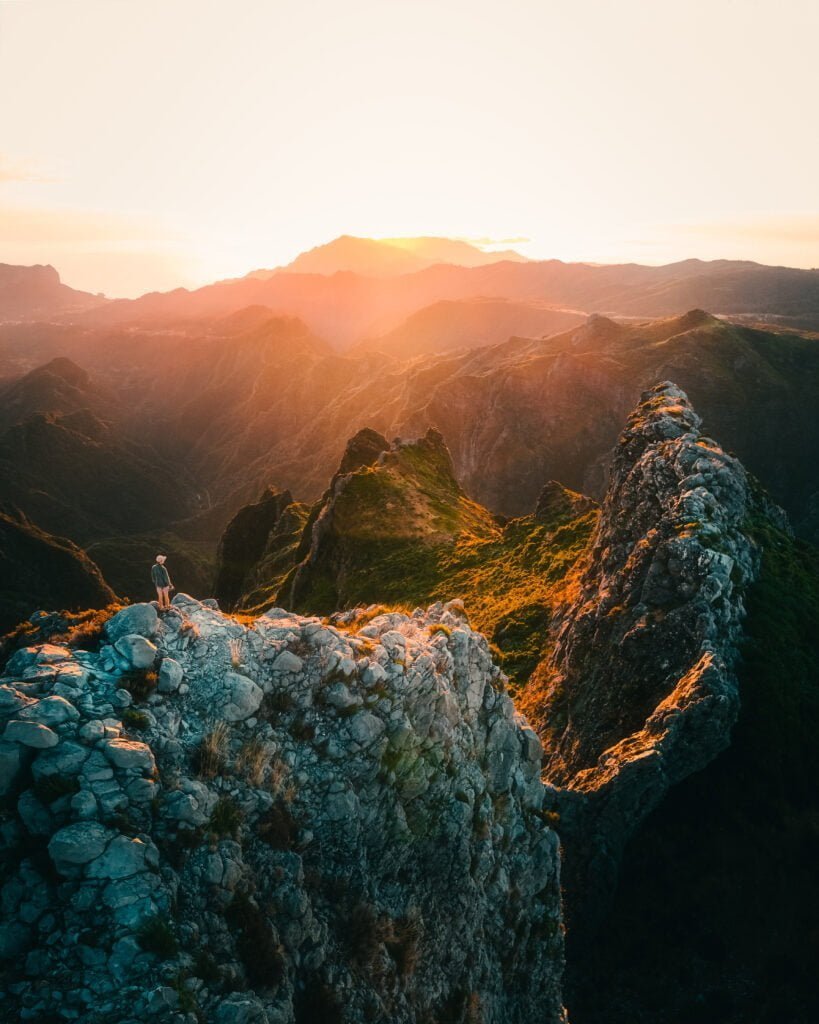
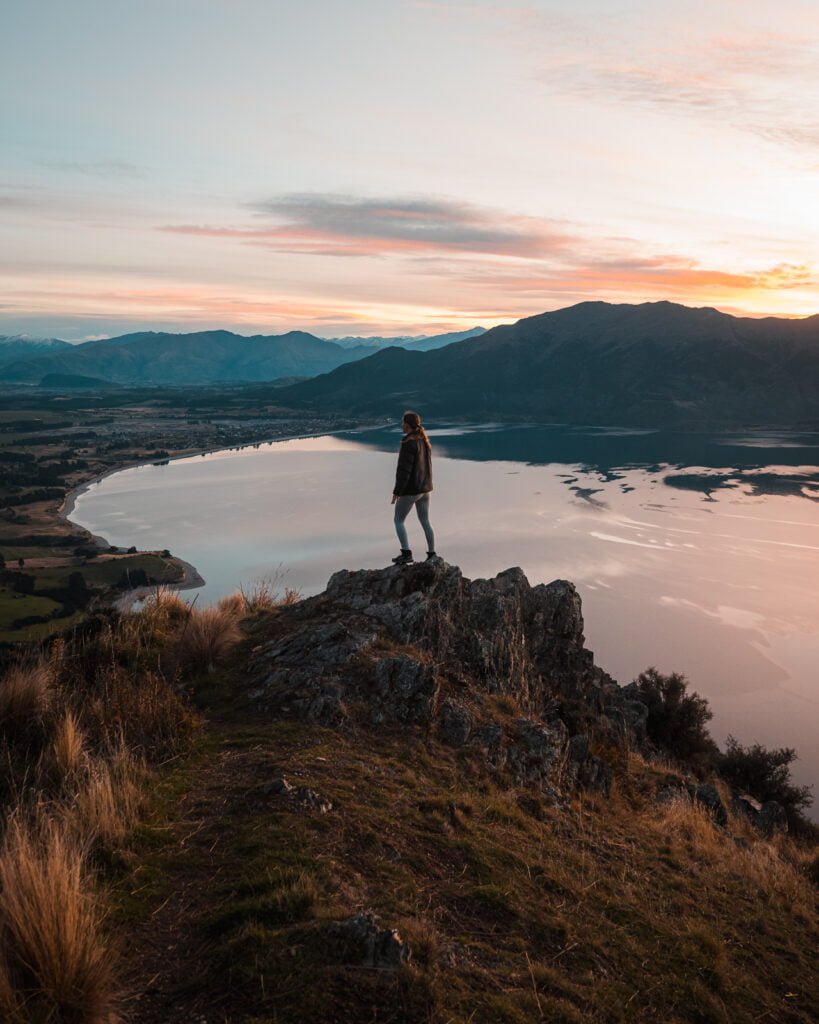
Another huge advantage of shooting at golden hour, particularly around sunrise, is that there will be far less people around to get in the way of your shots!
3. Use the Rule of Thirds
Improve your composition by using the rule of thirds. Use the gridlines setting to divide your frame into nine sections and place your subject along these or between these lines or their intersections for more balanced and engaging photos.
This technique helps guide the viewer’s eye through the image and creates a more dynamic and interesting composition.

There are so many different ways your can utilise the rule of thirds and you should definitively try to experiment with your compositions, but generally speaking it is a good thing to keep in mind if you want to keep your photos looking well balanced.
4. Incorporate Leading Lines
Leading lines guide the viewer’s eye through the image, adding a little extra depth and focus. Use natural lines like trails, rivers, or ridges to draw attention to key elements in your photo.
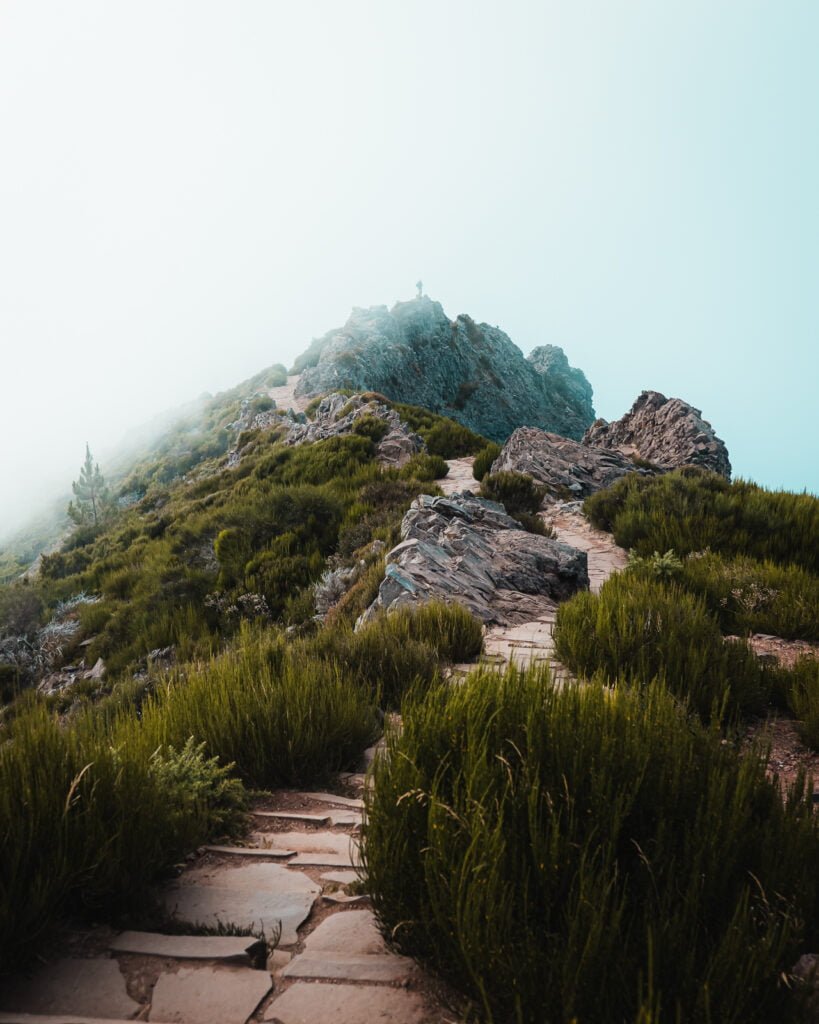

These lines help direct the viewer through the image and guid their attention to key elements, making the photograph feel more three-dimensional and engaging.
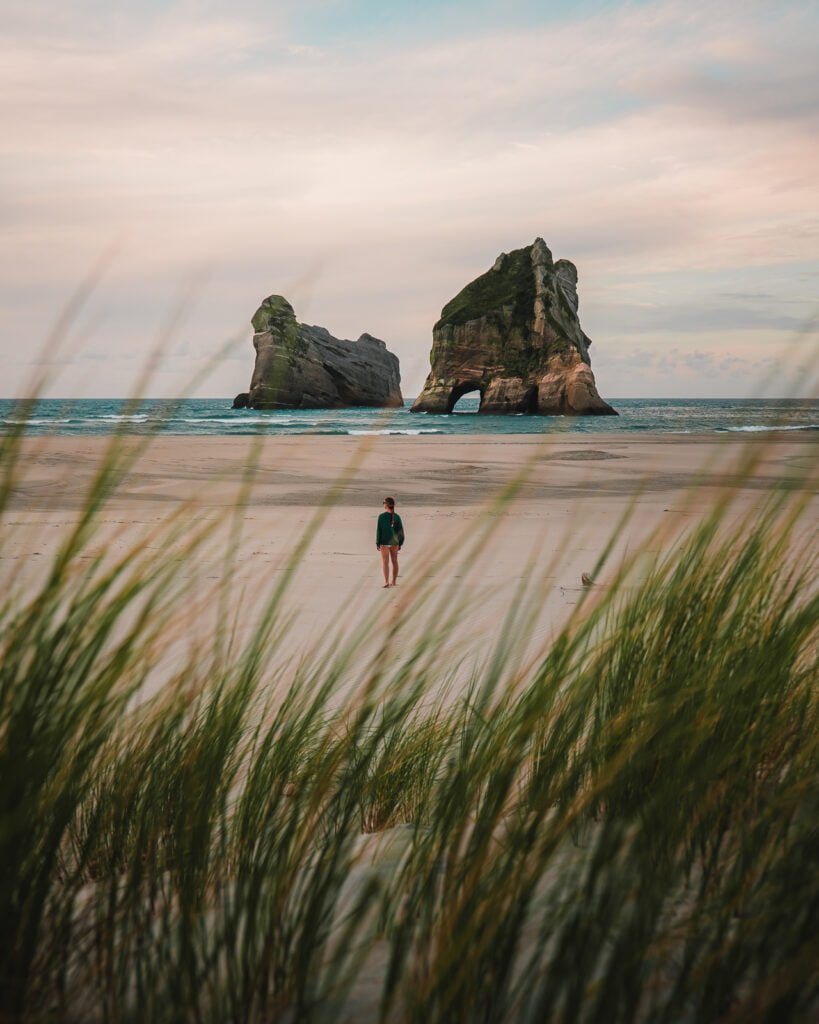
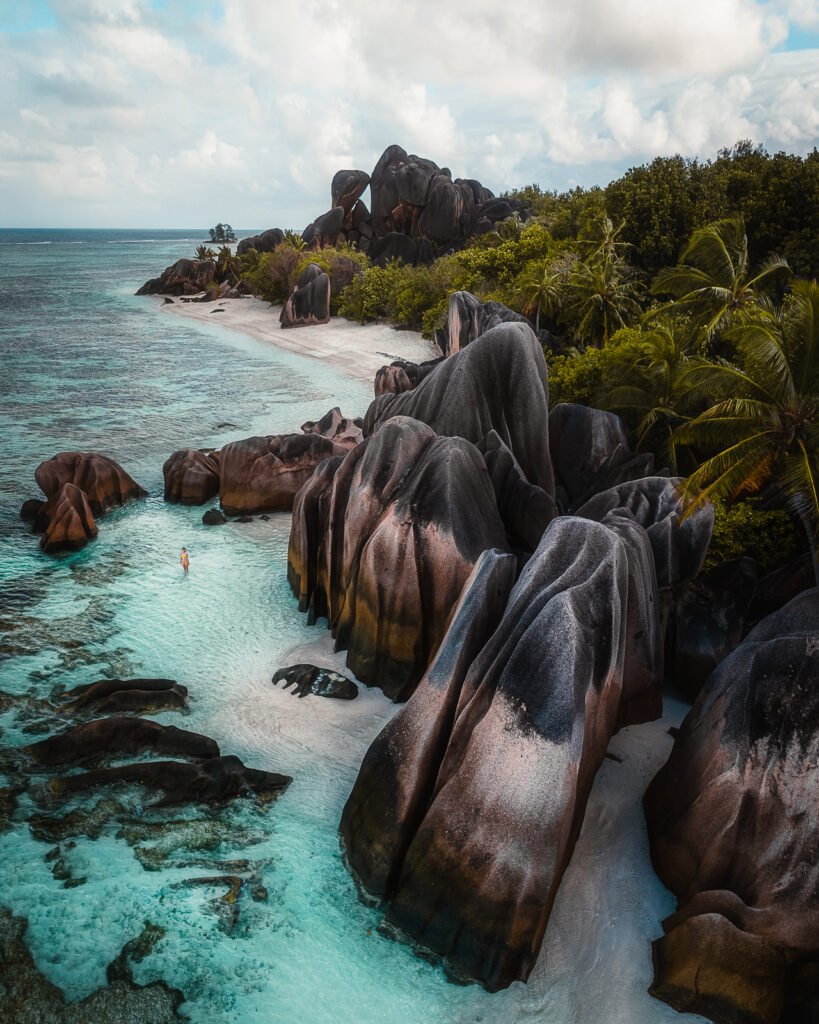
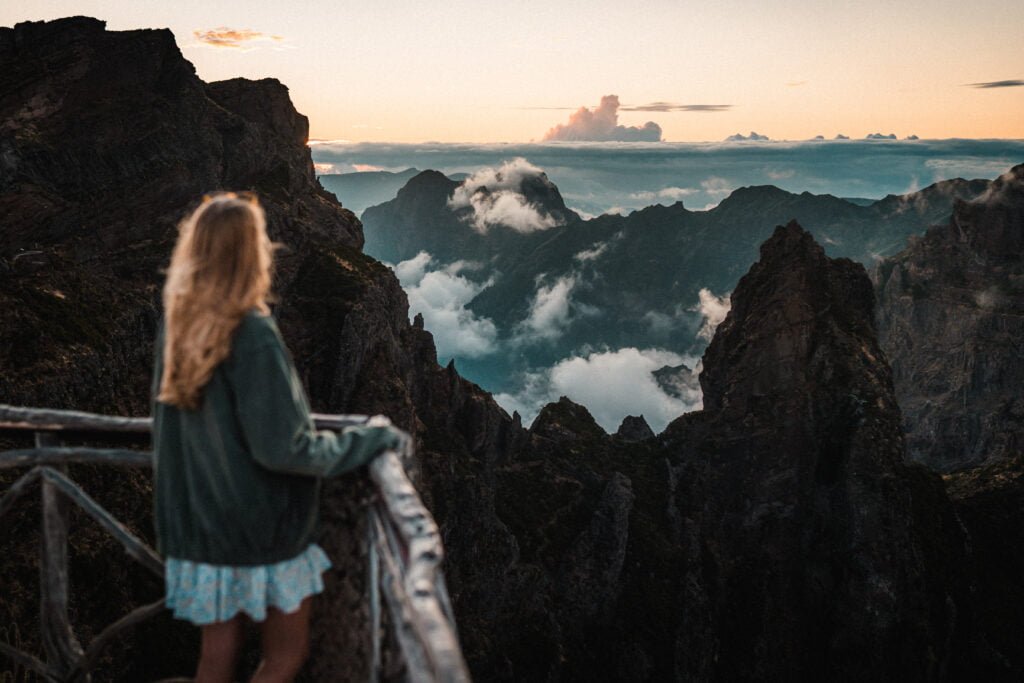
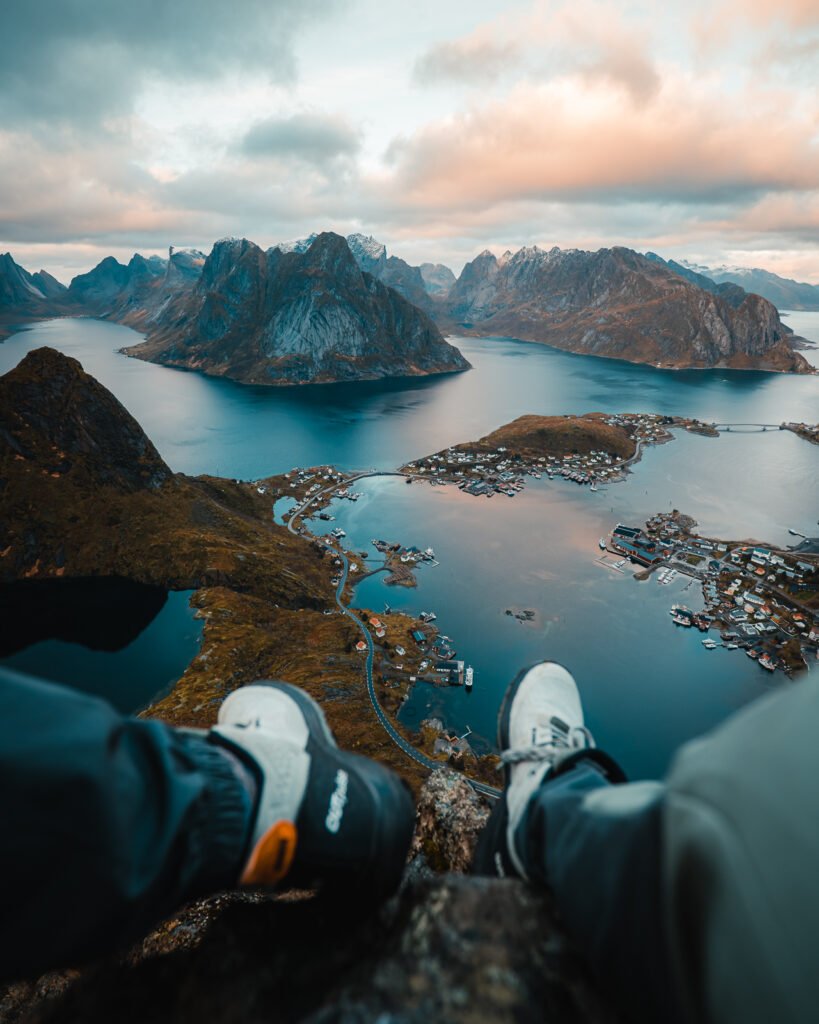
5. Include People for Scale
Including people in your mountain shots can provide a sense of scale, making the vastness of a landscape more apparent. This is something I personally love doing as it adds a human element to my photos and always makes for a more dramatic shot. Always best used for capturing the perfect Instagram shot!

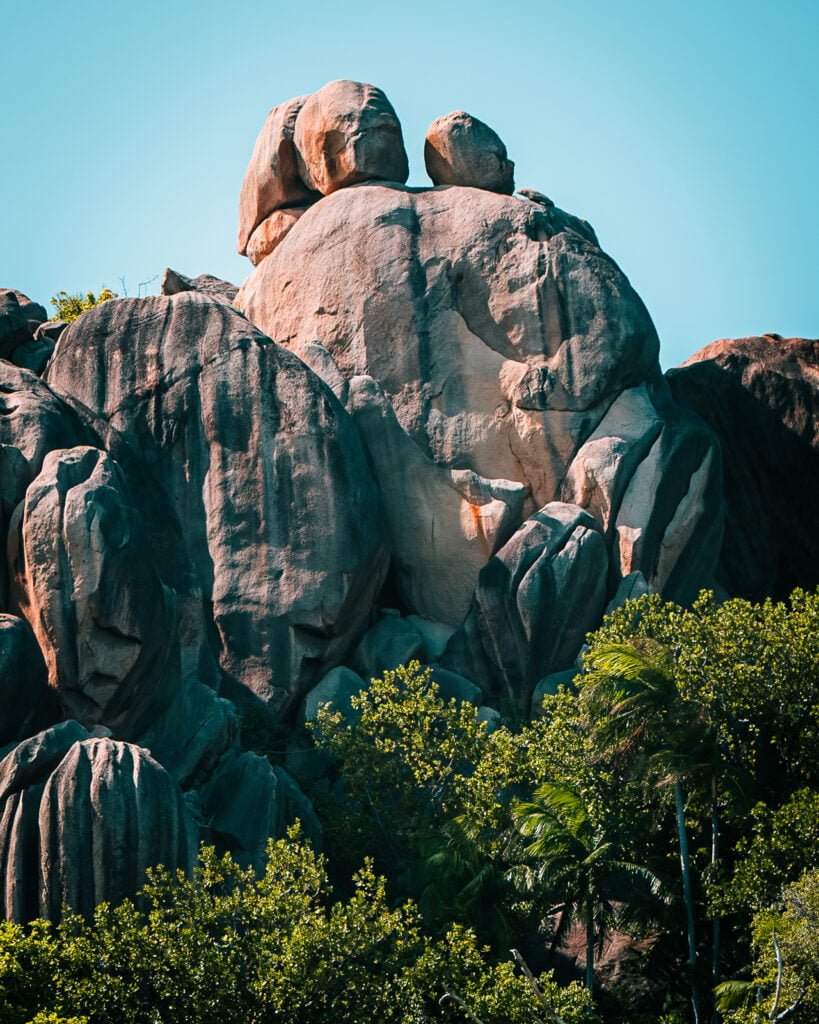
6. Scout Locations in Advance
Research and scout locations before your shoot. Knowing the best spots for photography can save time and help you capture the most stunning views. Look for unique vantage points, interesting rock formations and places that offer a good perspective of the mountain range.
A little preparation can go a long way to making the difference between a good photo and a great one. I would suggest that searching for the location on Instagram would always be a great place to start!
We actually have a series of articles where we where we share are favourite photo spots from a range of different places around the world – if you want some inspiration, you can check them out here.
7. Experiment with Different Focal Lengths
Using different focal lengths can drastically change the perspective and feel of your mountain photos, providing you with a range of creative possibilities.
Wide-angle lenses are great for capturing vast landscapes and giving a sense of scale, allowing you to emphasize the grandeur and expanse of the mountains. They help you include more of the surrounding scenery in your frame, making the viewer feel immersed in the environment.

On the other hand, telephoto lenses allow you to focus on distant peaks and details, bringing faraway elements closer and highlighting specific features of the landscape that might otherwise go unnoticed. These lenses are perfect for isolating a particular mountain or capturing the intricate textures and patterns on the slopes.


8. Experiment with Long Exposure
Using long exposure techniques can create captivating mountain photos by capturing the motion of elements like clouds, rivers, or waterfalls.

To achieve this, use a tripod to keep your camera steady and select a slow shutter speed. This technique can add a sense of motion to your images, making them more dynamic and visually interesting.
You’ll usually need to use an ND filter to reduce the light intake, allowing for longer exposure times – especially during the day.

9. Include Foreground Elements
This is probably a technique that I use far to often but I think that including elements in the foreground adds a context and narrative to your photos that just makes them more interesting!

By incorporating foreground elements, you create a sense of layering, which guides the viewer’s eye through the photo. This approach not only enhances the overall composition but also makes the images much more captivating and engaging.
10. Enhance Photos in Post-Processing
Use editing software like Lightroom to enhance your photos by adjusting colours, contrast and sharpness to bring out the best in your shots – this is something that all the best landscape photographer are great at!


We actually have our own custom Lightroom editing presets designed specifically for adventure landscape photography. They offer a quick and easy way to achieve a range of stylised looks, even if you’re a beginner editor!
Step up your editing